Skip to main content
Skip to footer
Home
About
Team
Gallery
Get Involved
Contact
Home
About
Team
Gallery
Get Involved
Contact
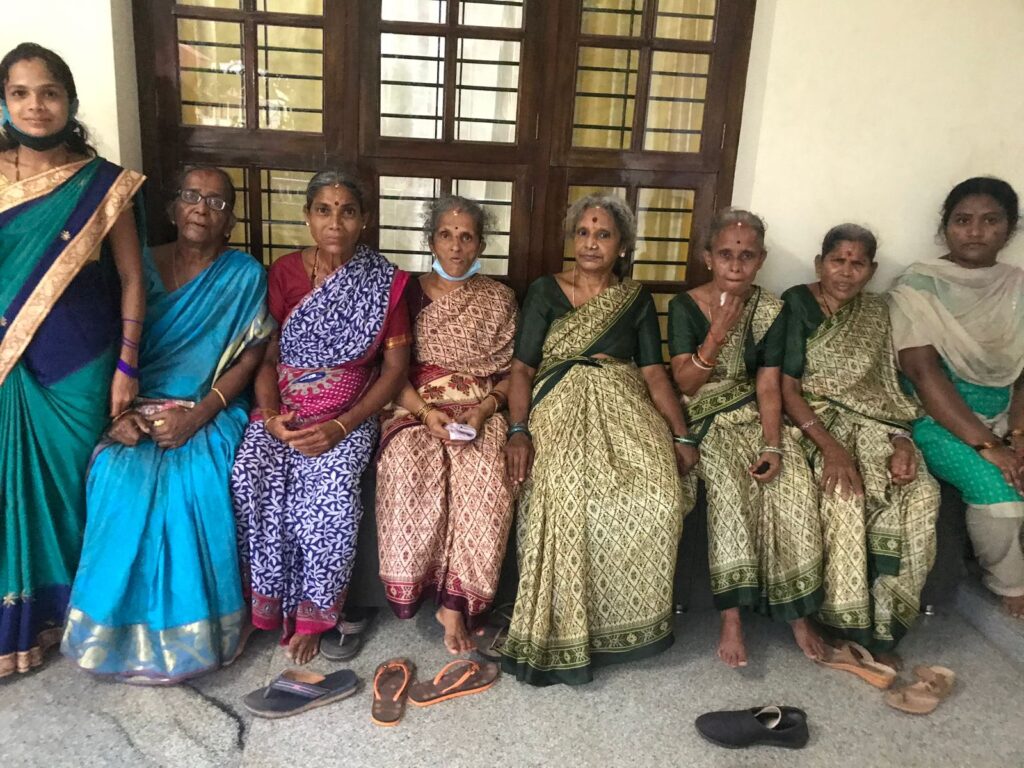
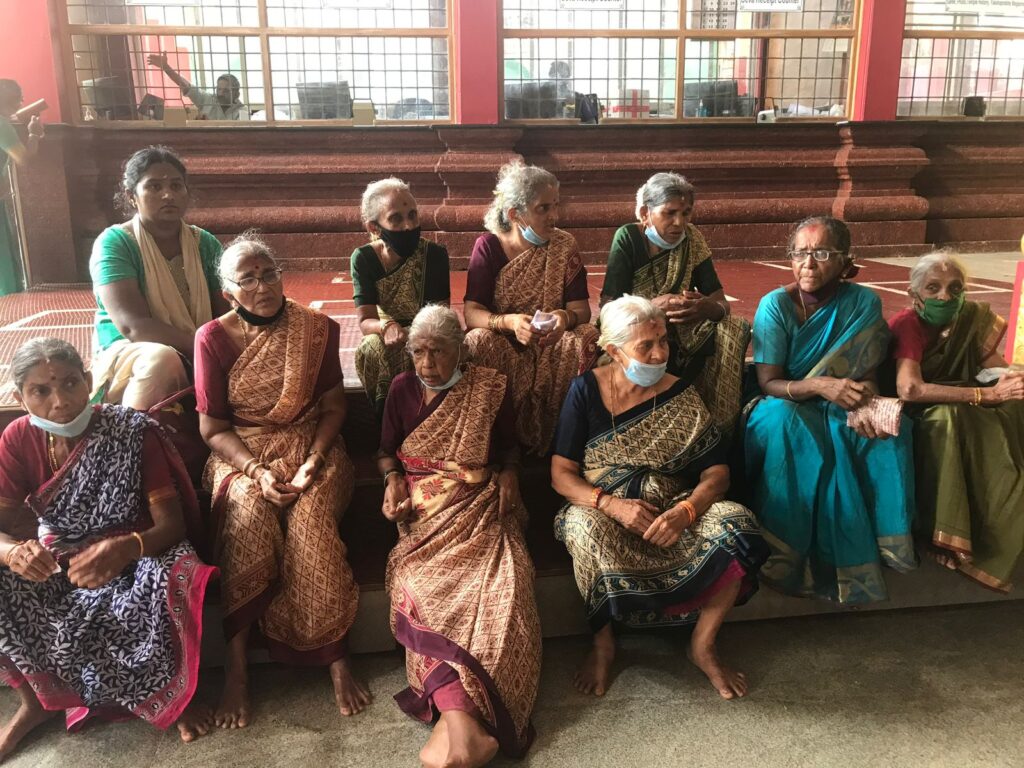
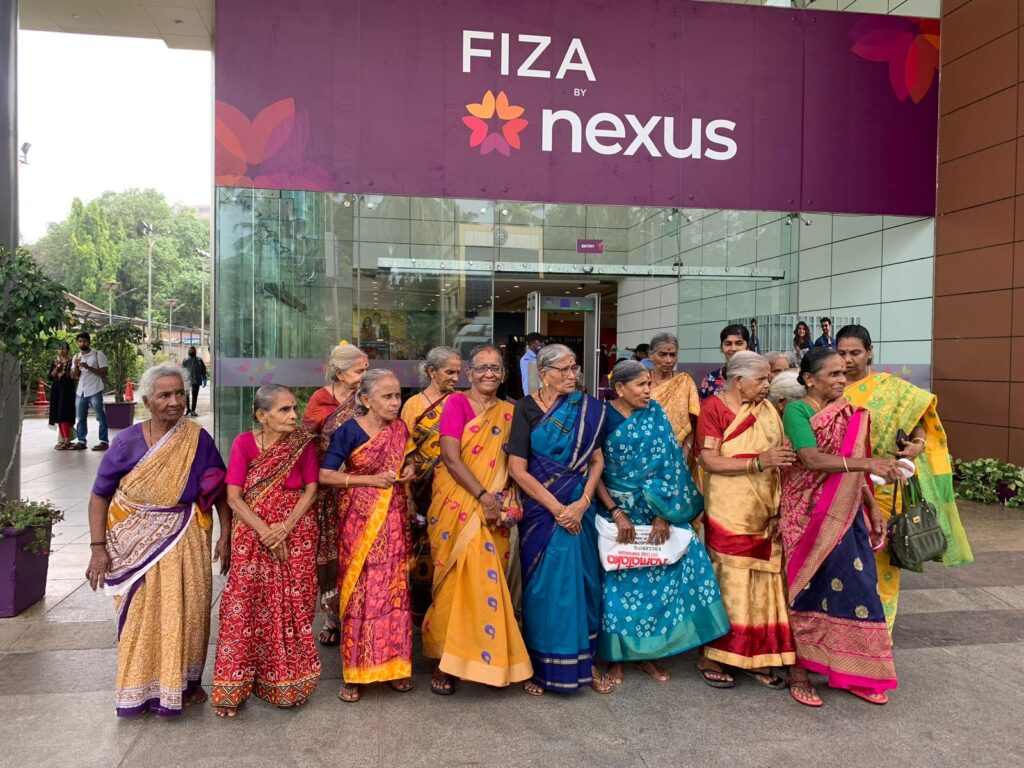
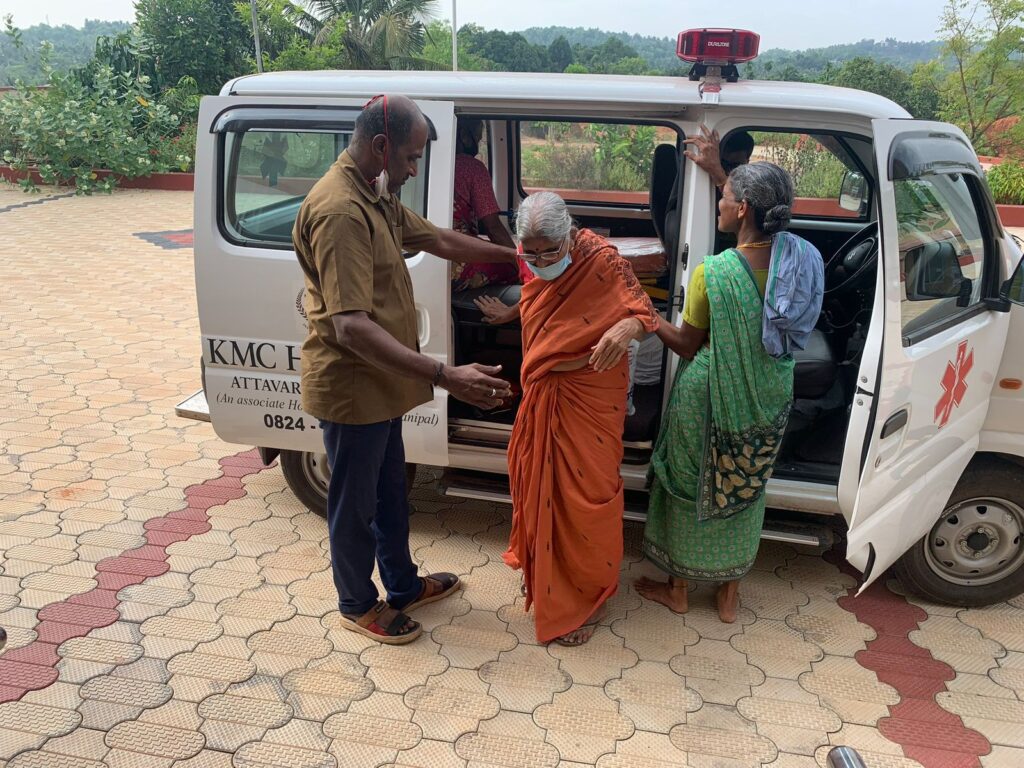
Gallery